
What did this residential perimeter security installation involve?
SecurePro installed Apeiron Guard battery-free wireless climb-detection sensors across a residential garden boundary that included masonry walls, timber fencing and glass balustrades. The independent installer prepared each surface, bonded and aligned the appropriate sensor type, paired the protection zones with a Mini Alarm Hub, and tested the complete wireless alert path before handover.
The objective was to strengthen the property's first line of defence while preserving the existing garden and architectural finishes. Unlike a conventional wired perimeter retrofit, the field sensors did not need power cables, signal cables or replaceable batteries. That allowed SecurePro to protect several different boundary conditions without opening long cable routes through the walls or garden.
The security requirement and installation challenge
The client wanted stronger garden protection and earlier warning of an attempted climb-over. The challenge was that the perimeter was not one uniform surface: low masonry walls, planted stone-clad sections, timber fence panels and glass balustrades each required a suitable product and installation approach.
A practical solution needed to:
- create a coordinated detection line across different heights, widths and materials;
- avoid visible perimeter cabling and unnecessary damage to completed wall finishes;
- work around vegetation, corners and narrow access areas;
- remain visually discreet in a landscaped residential setting; and
- give the installer a clear, testable alert path through one Mini Alarm Hub.
Why SecurePro selected Apeiron Guard
SecurePro selected Apeiron Guard because the system offered a new battery-free approach and could be deployed quickly for the client. The wireless field sensors reduced the amount of intrusive construction normally associated with a perimeter retrofit, while the product range allowed the installer to address walls, fences and glass edges within one ecosystem.
The benefit was operational as well as visual: fewer cable routes meant a simpler installation plan, and battery-free sensing points removed the need to design future access around routine field-sensor battery replacement.
Apeiron Guard products used
This project used the Mini Alarm Hub directly. No Apeiron Wireless I/O Module or dry-contact connection to another alarm system was required.
The installation process
1. Surveying and preparing the boundary
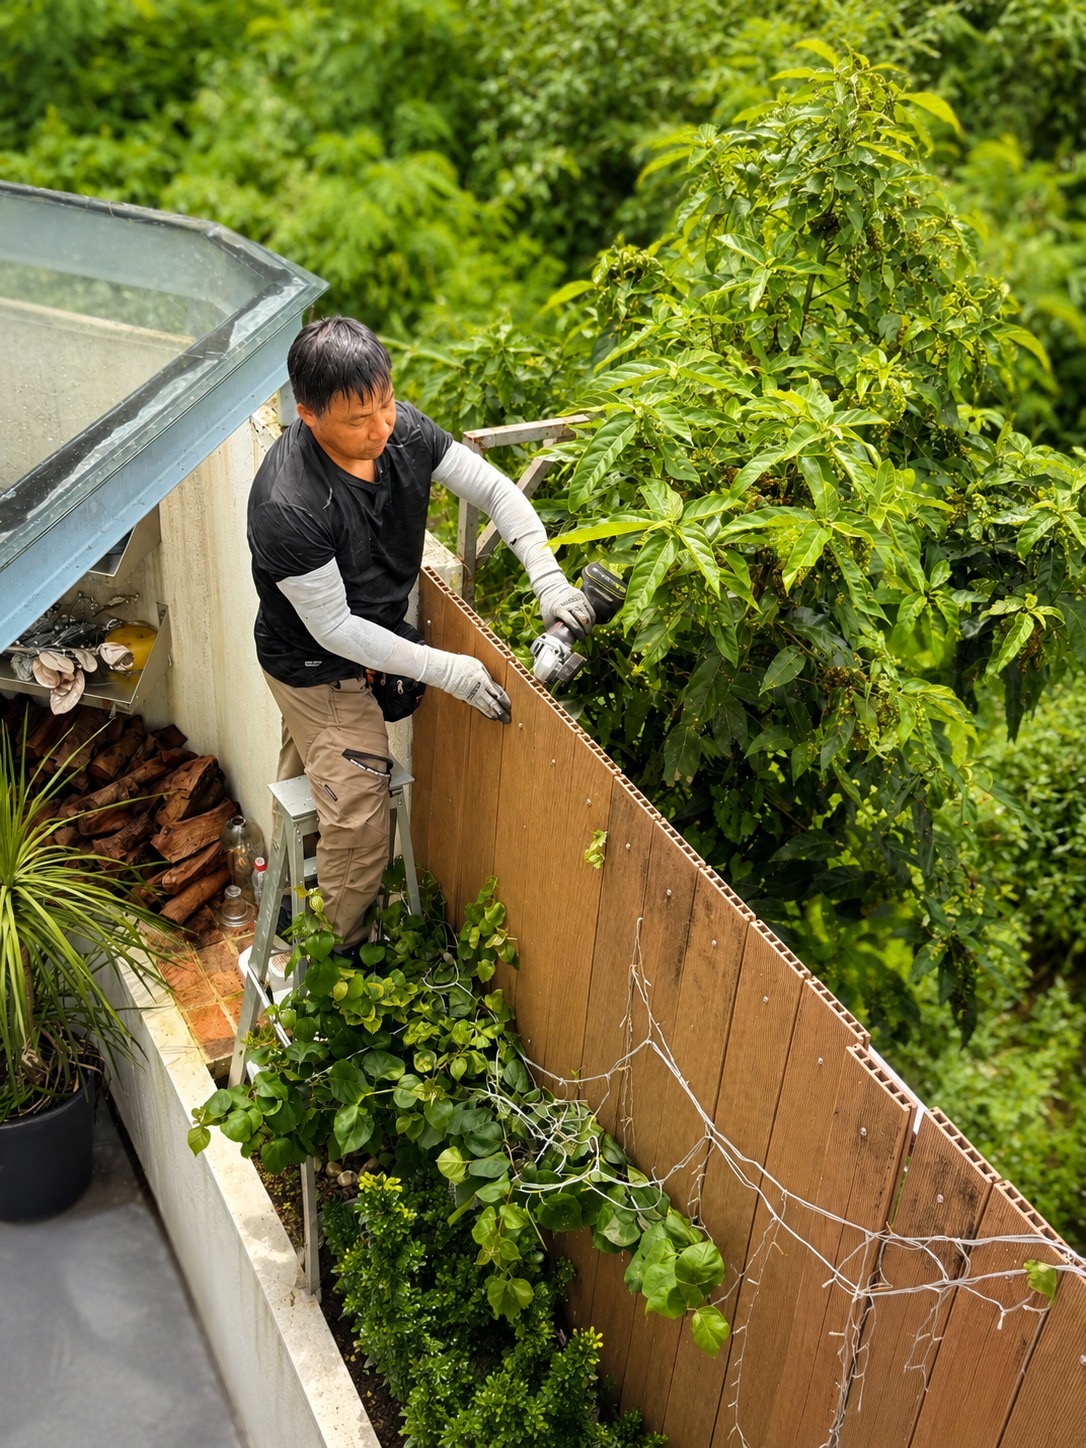
SecurePro first reviewed the complete perimeter, selected the appropriate sensor type for each surface and checked the intended module positions. The installer prepared the timber fence line and cleared local vegetation where necessary so the finished sensors could follow the protected edge consistently.
2. Applying structural adhesive
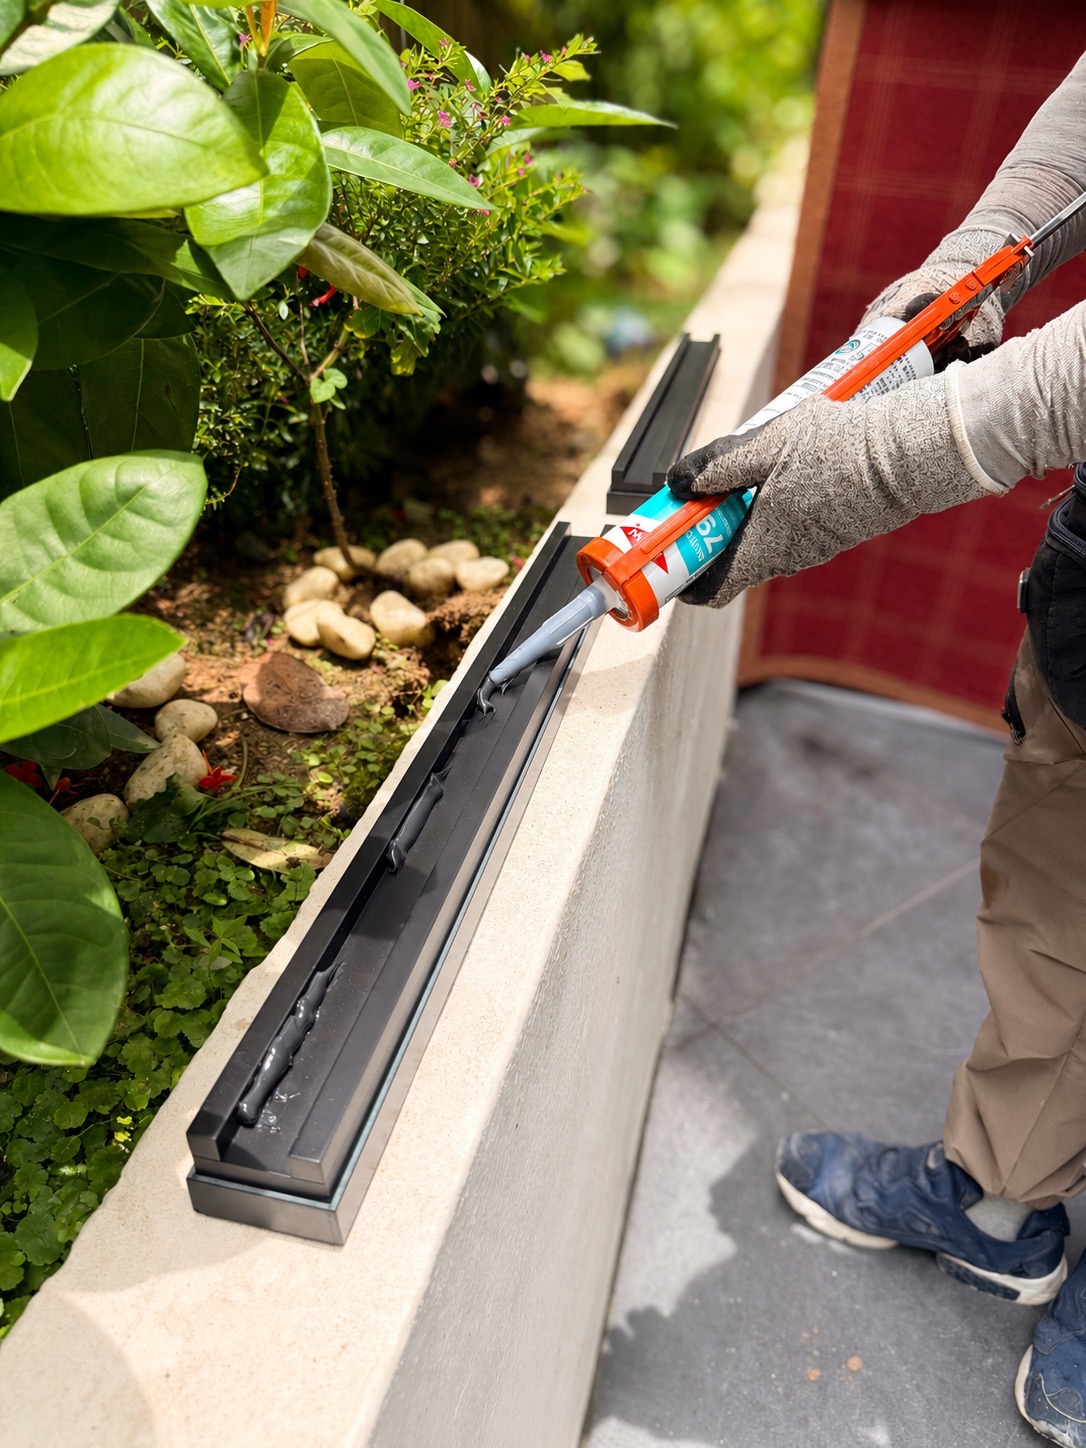
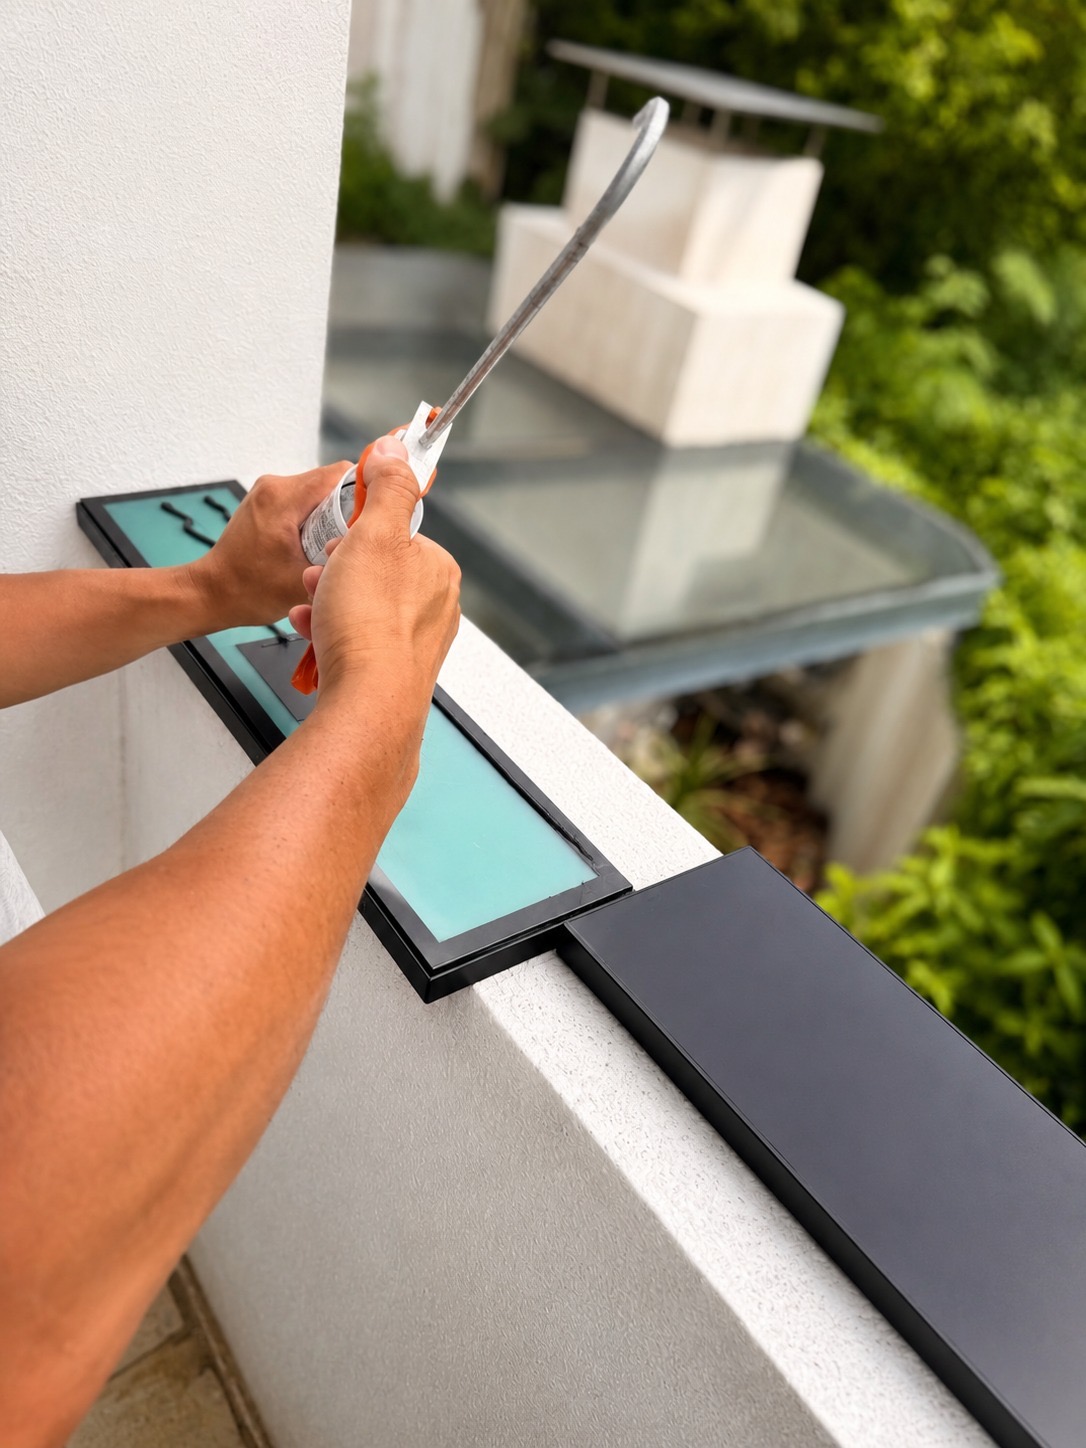
The mounting surfaces and sensor bases were prepared before outdoor structural adhesive was applied. This method supported a fast retrofit while avoiding unnecessary drilling or damage to the finished garden walls. Adhesive placement was adjusted to the housing and the local mounting surface rather than treated as a one-size-fits-all step.
3. Positioning and aligning each sensor run
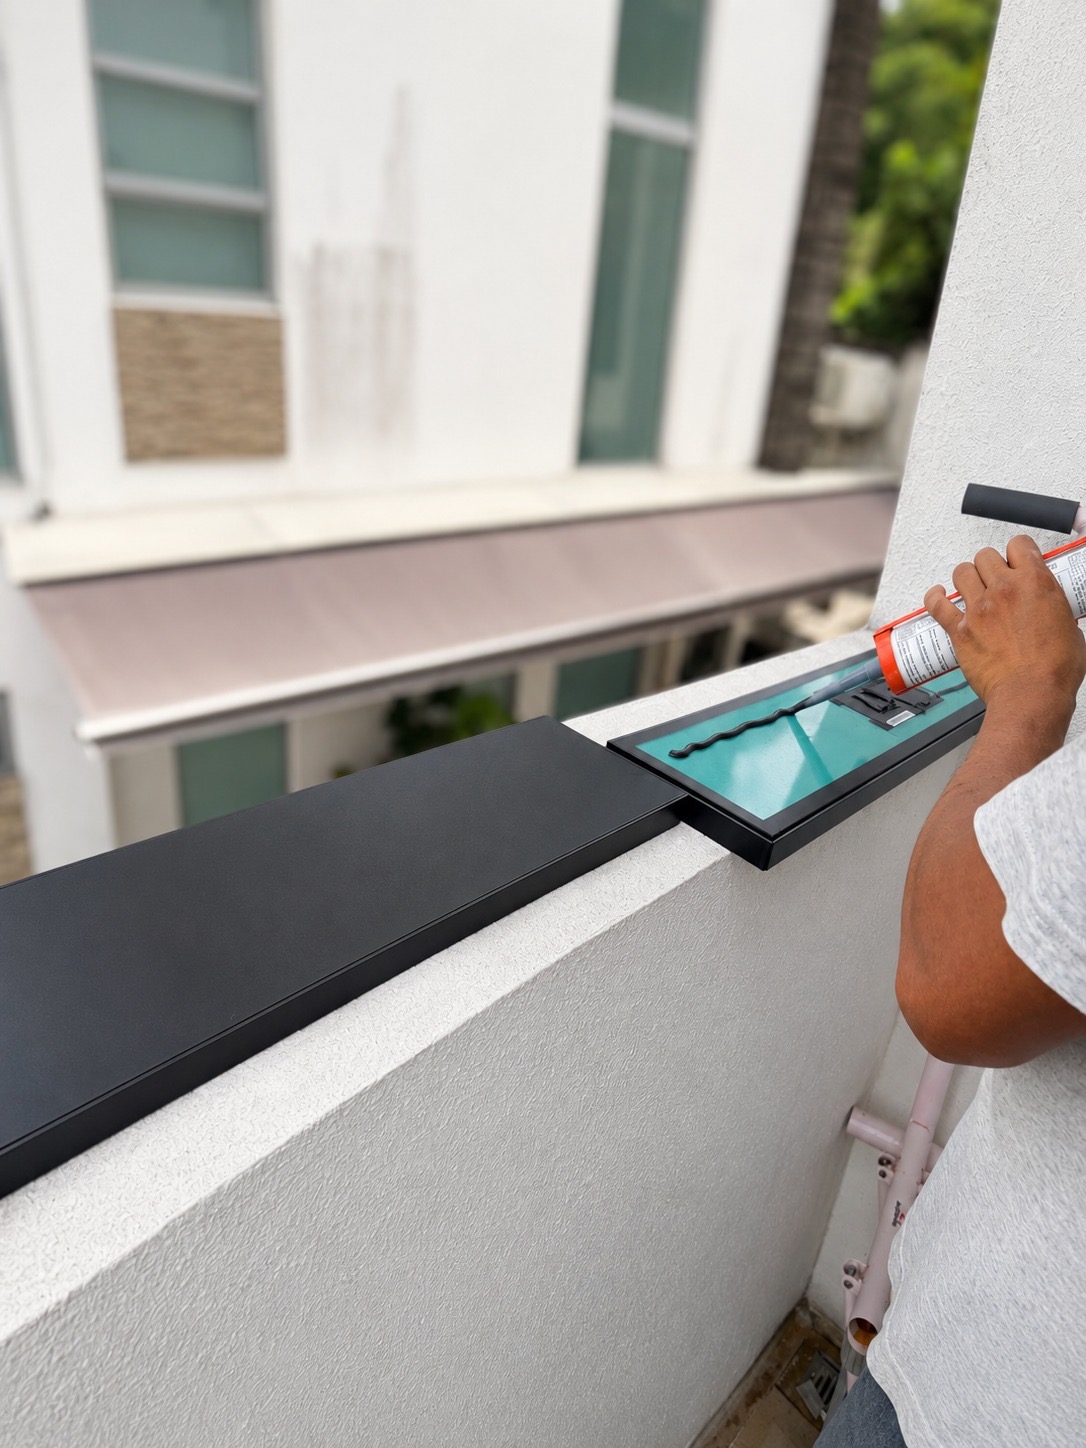
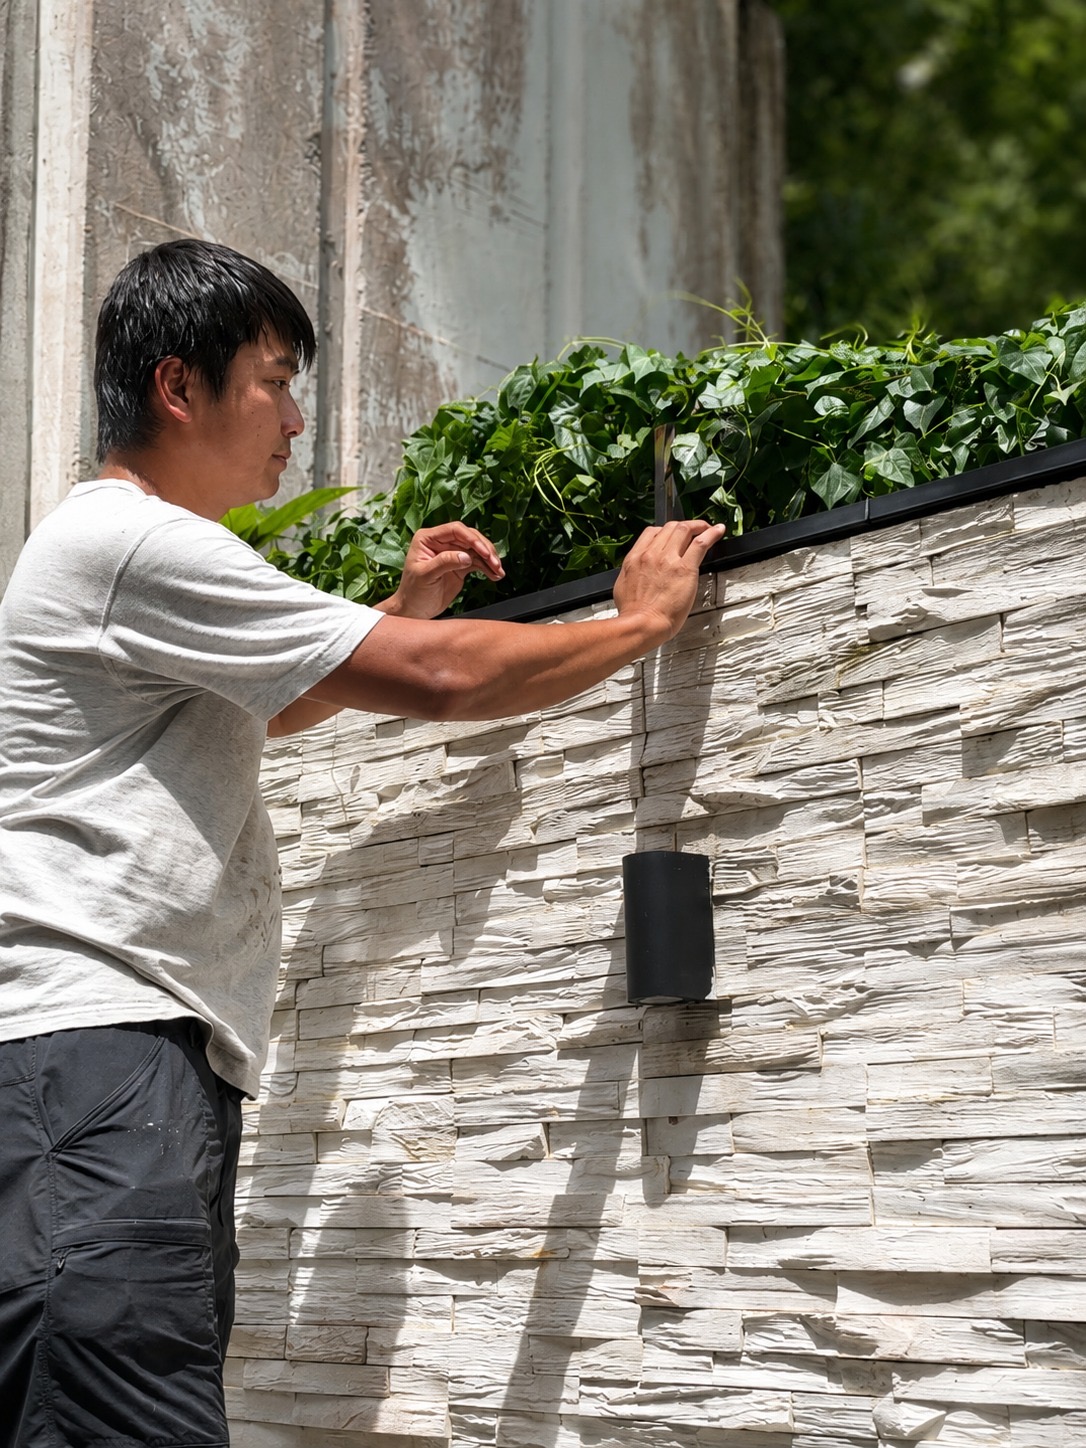
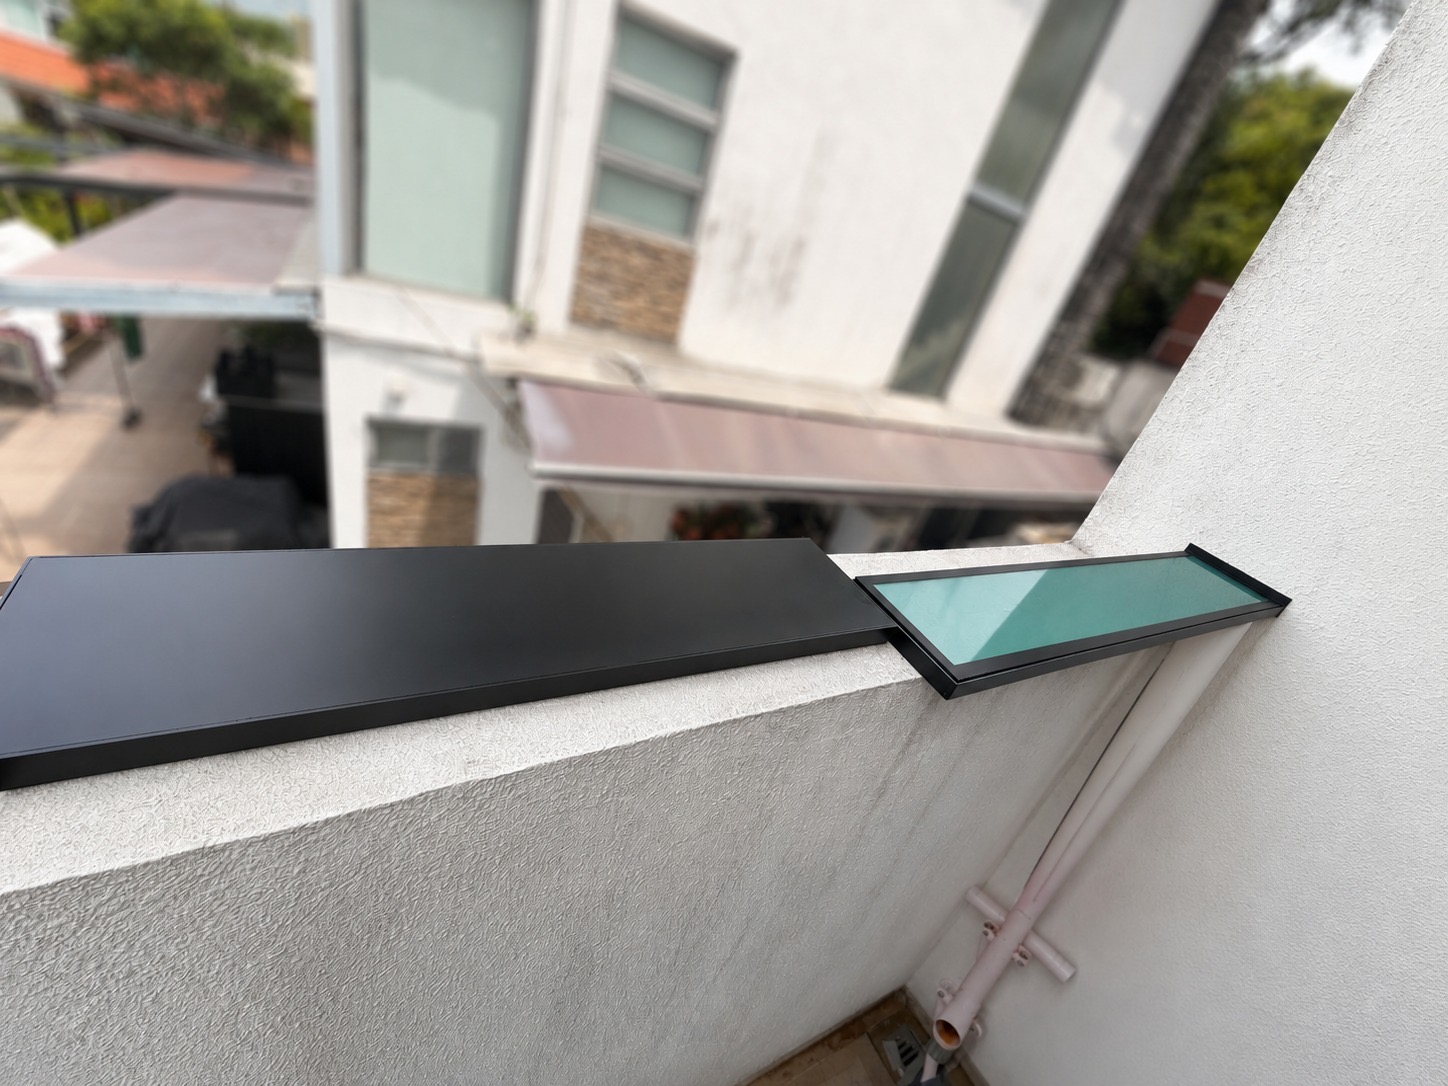
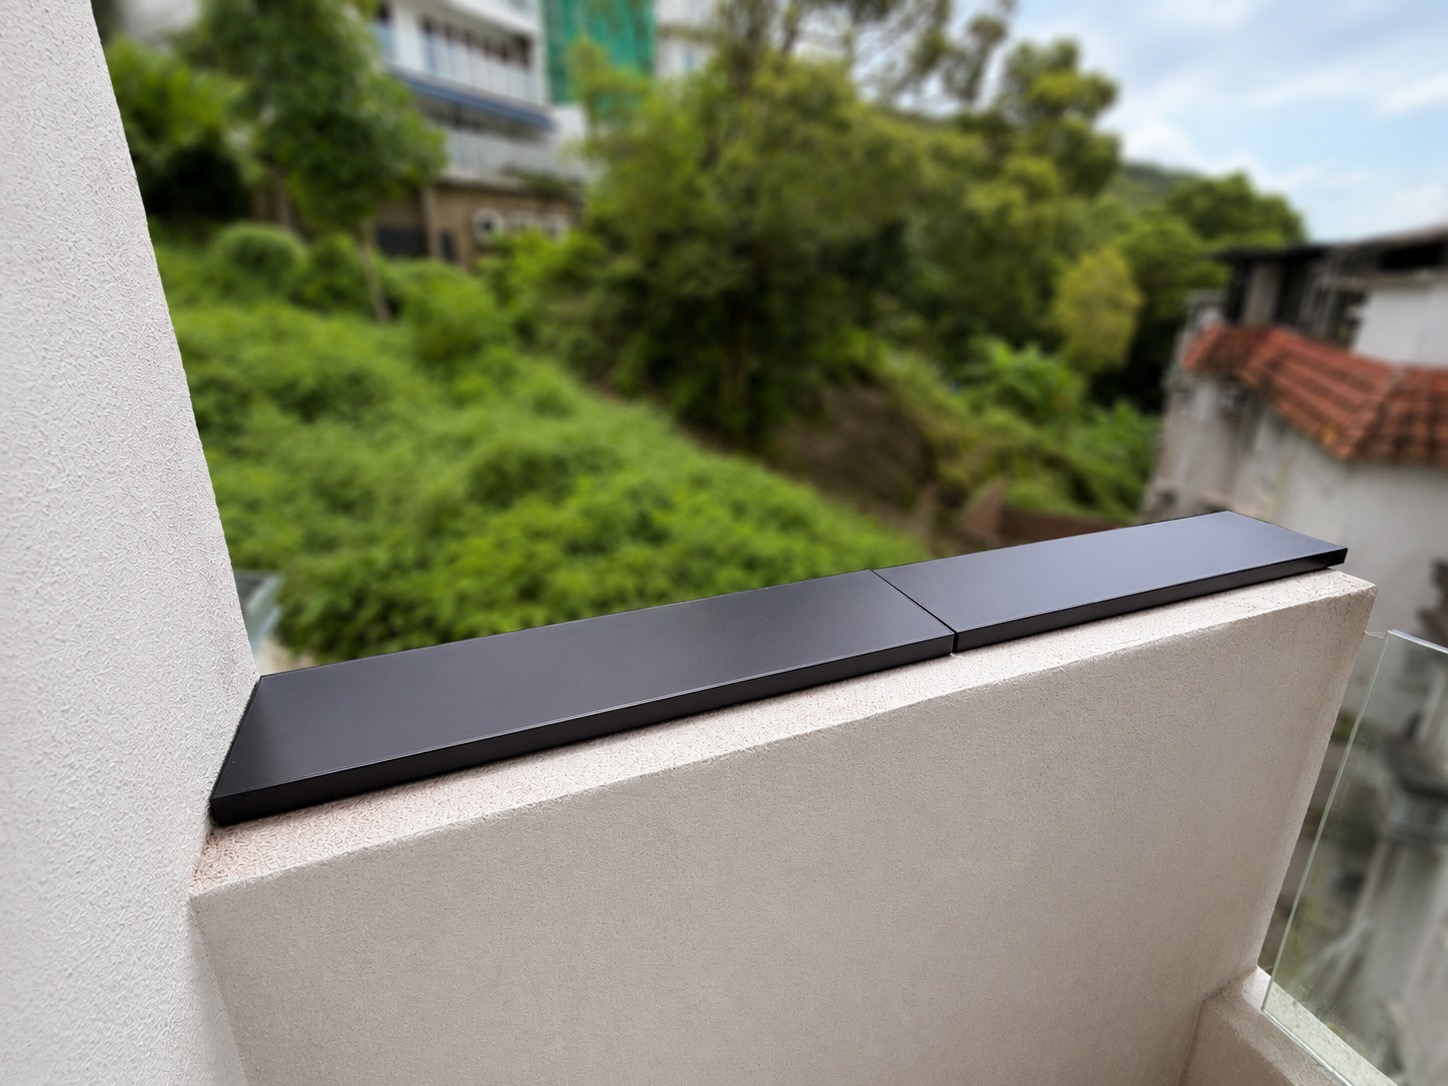
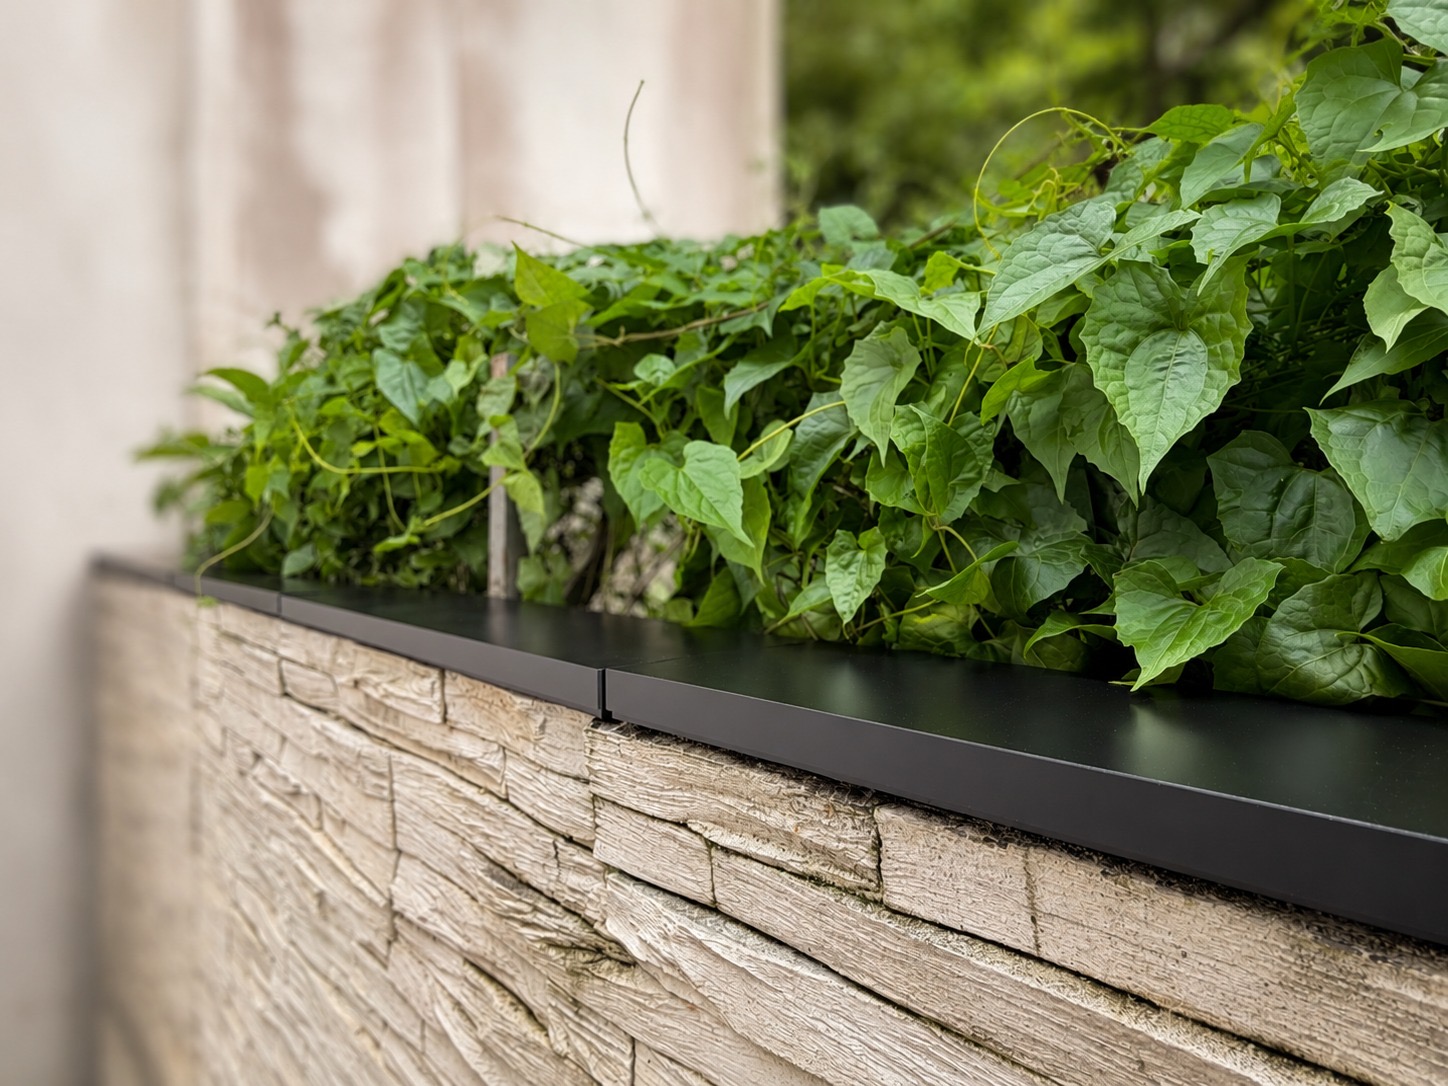
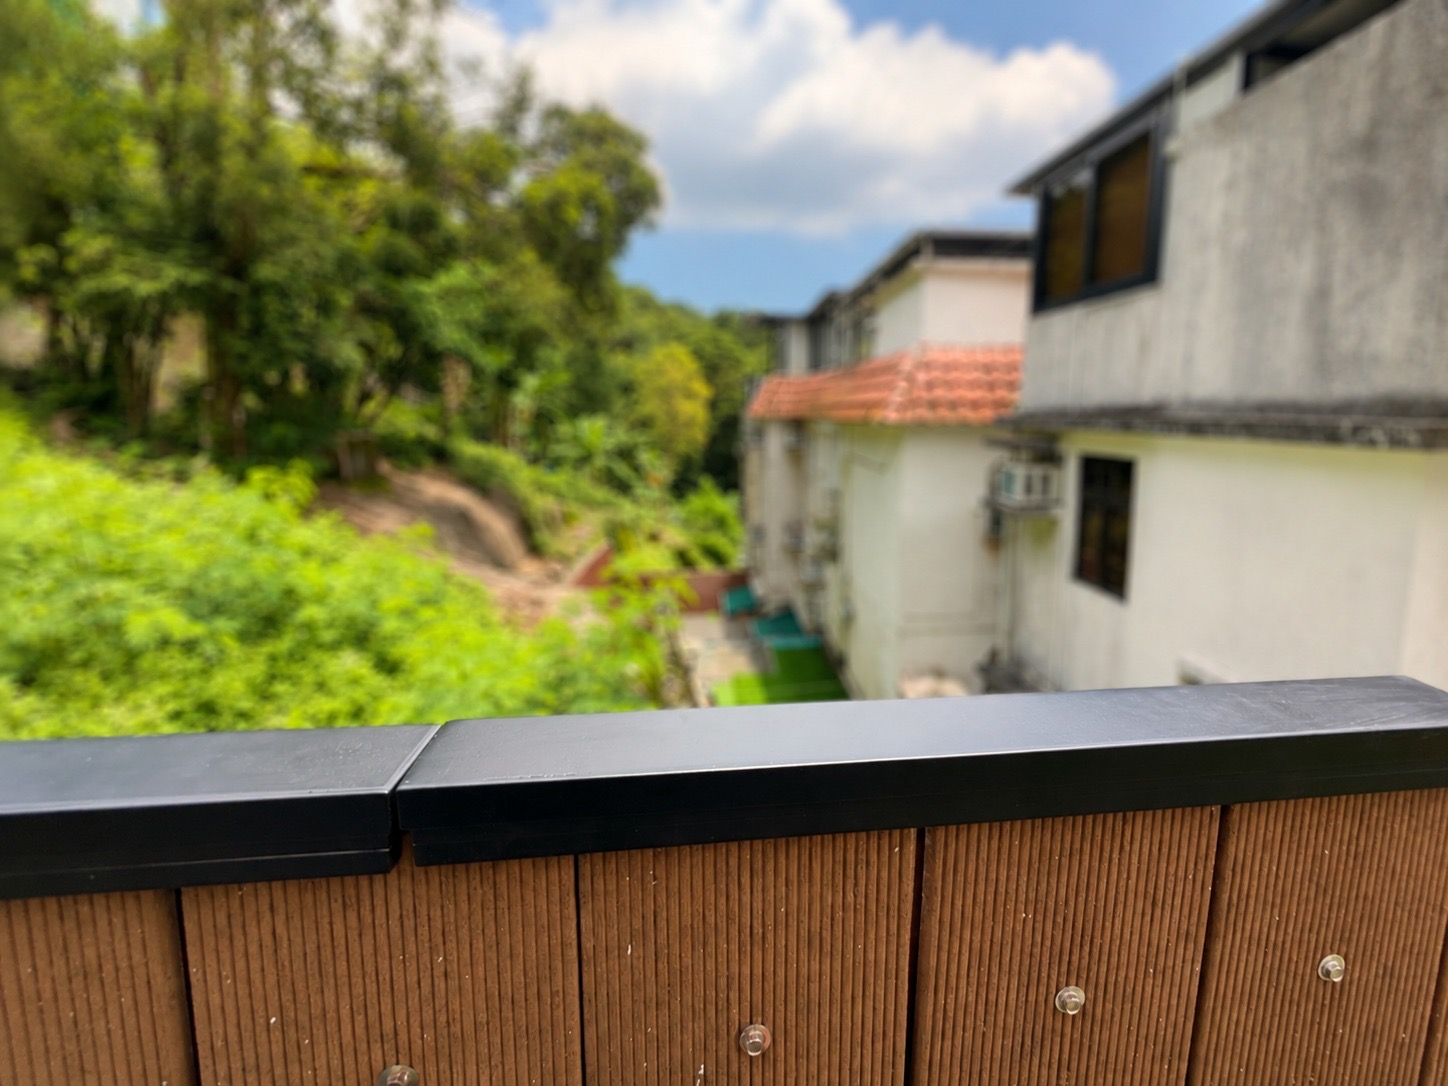
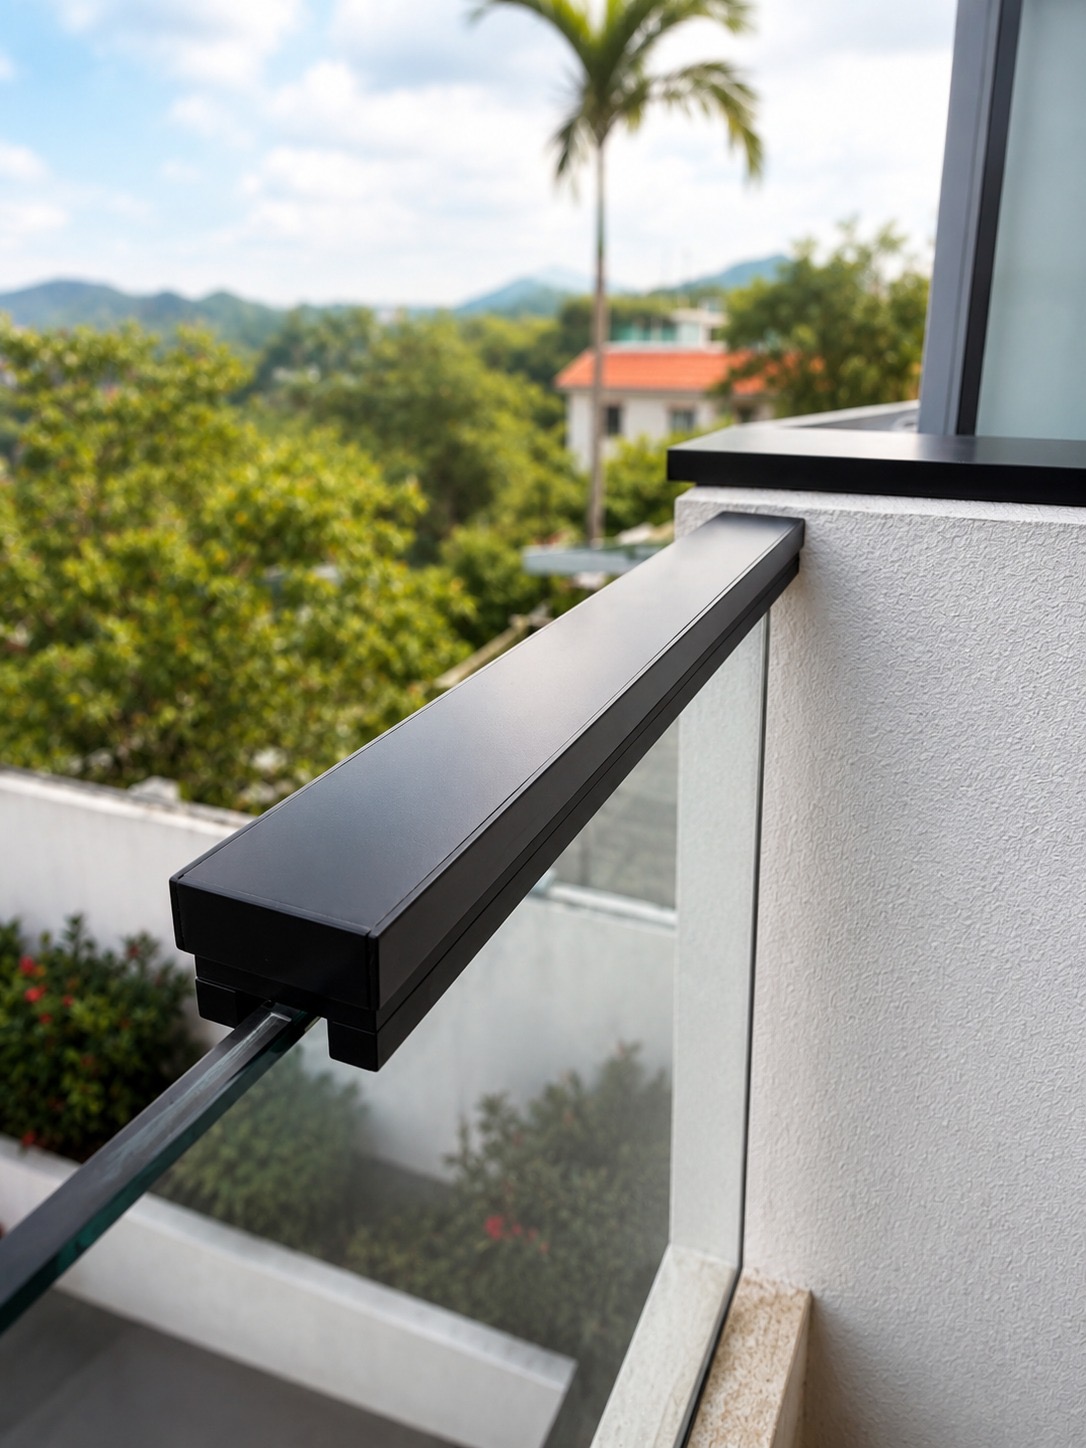
Each unit was positioned at the surveyed location, aligned with neighbouring modules and checked against the boundary edge. SecurePro adapted the placement to masonry, planted wall tops, timber fencing and glass while maintaining a consistent low-profile appearance.
4. Pairing the Mini Alarm Hub and testing every zone
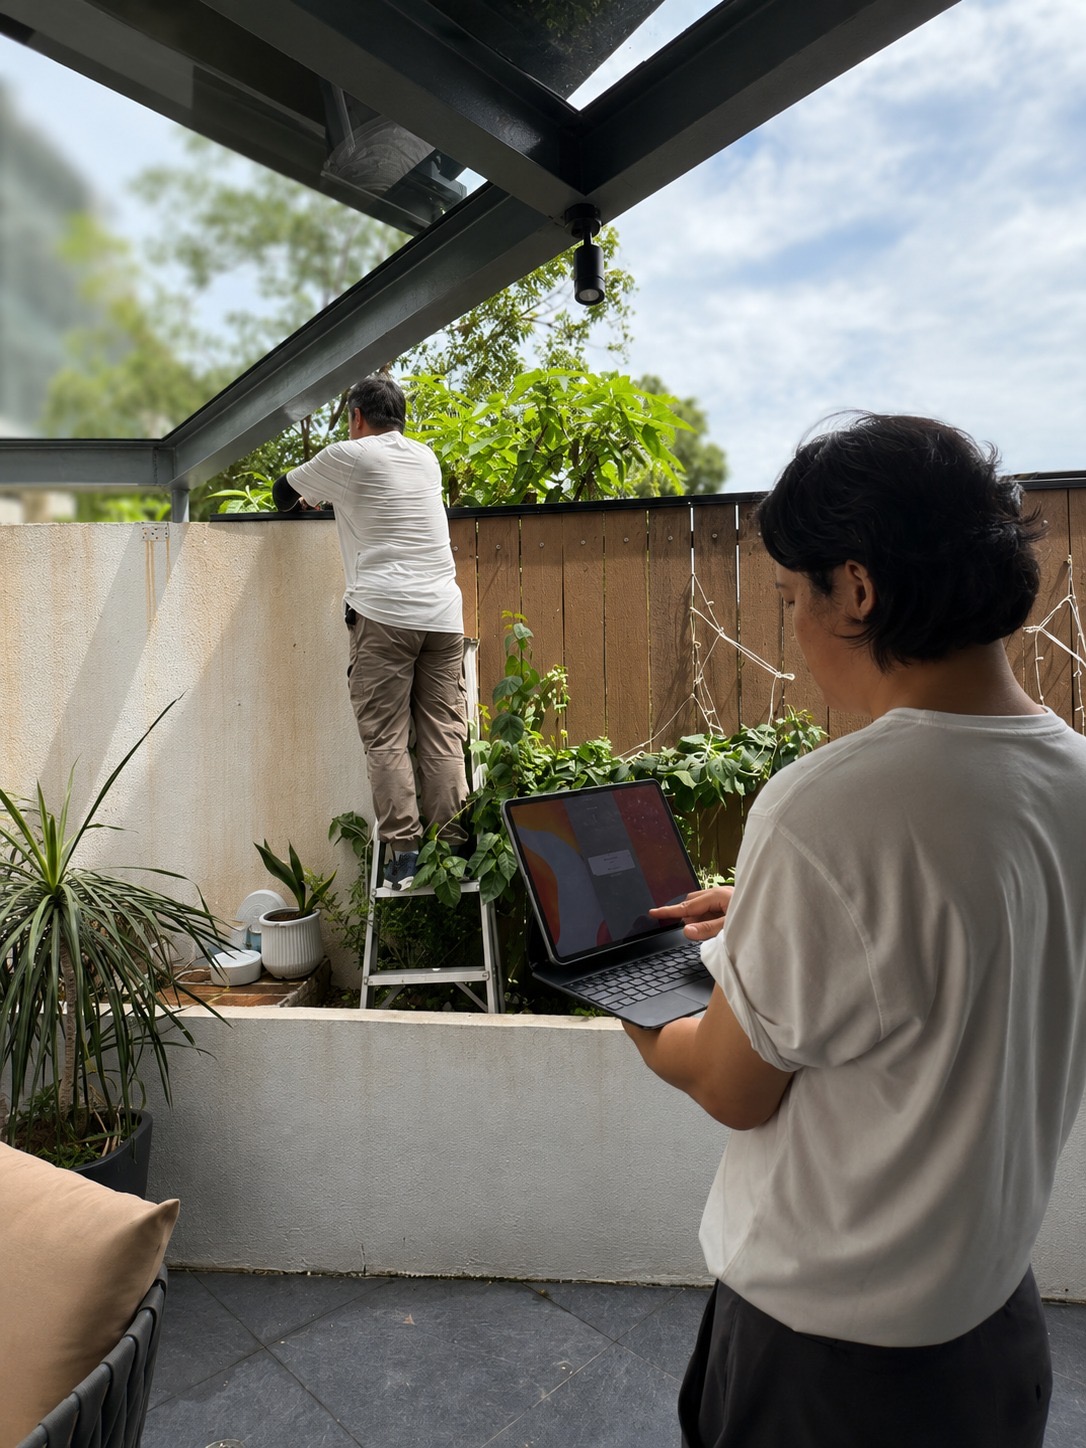
After physical installation, the wireless sensors were paired with the Mini Alarm Hub and assigned to their protection zones. SecurePro then tested each installed section to confirm that a trigger produced the intended alert and that the zone information was clear before client handover.
Completed residential perimeter protection
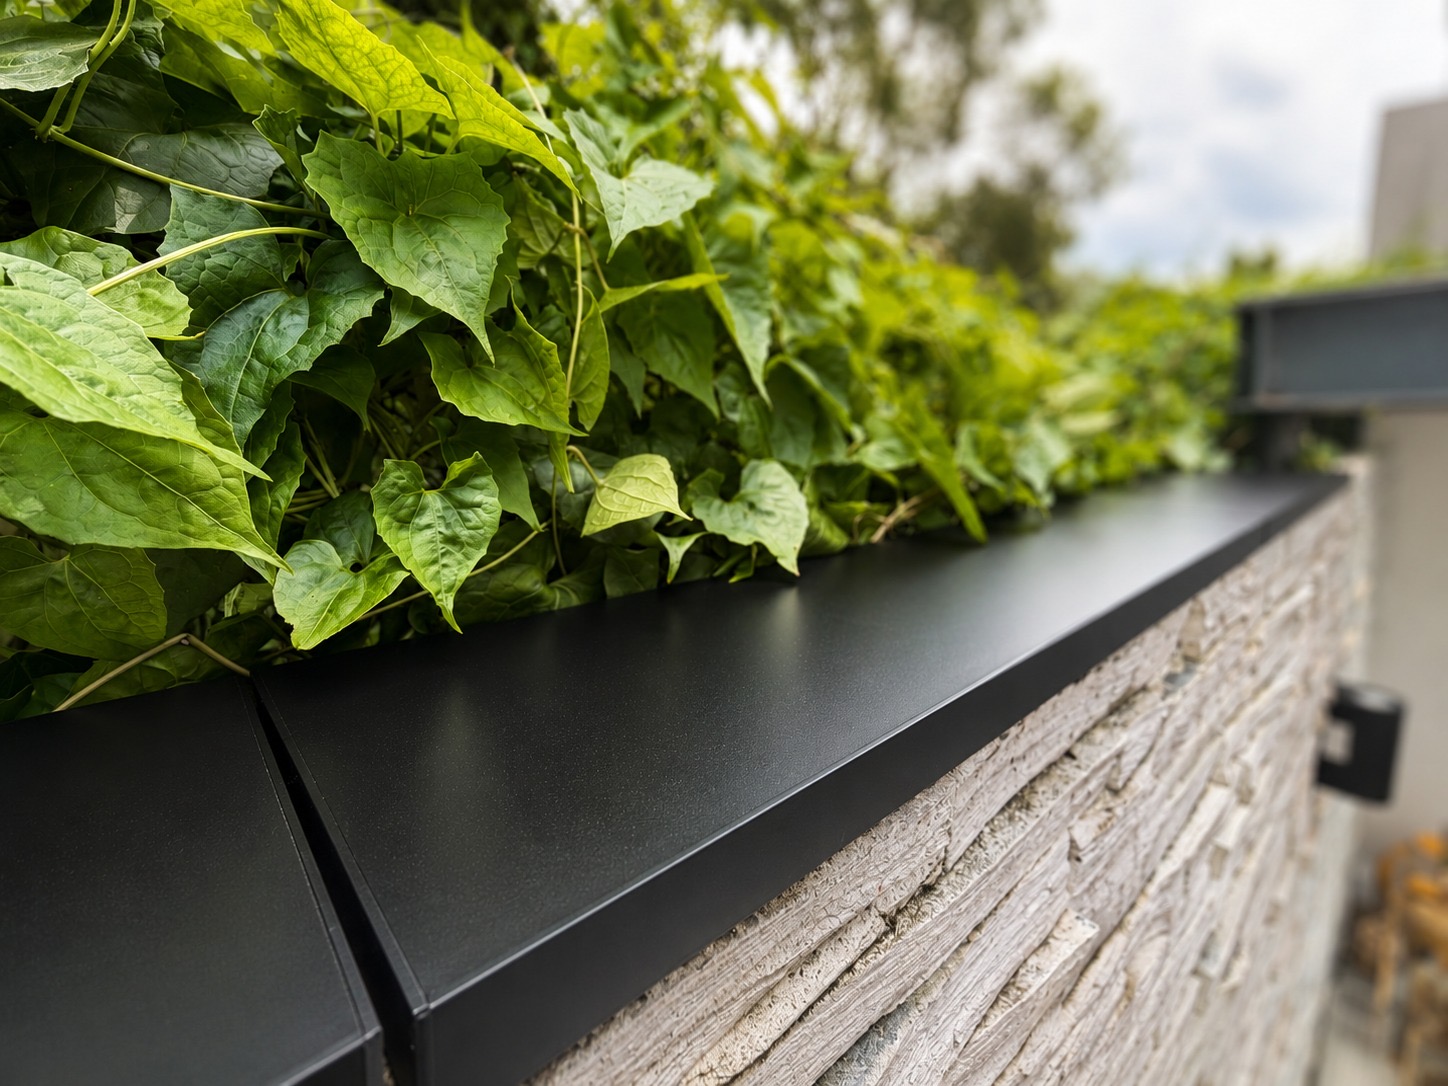
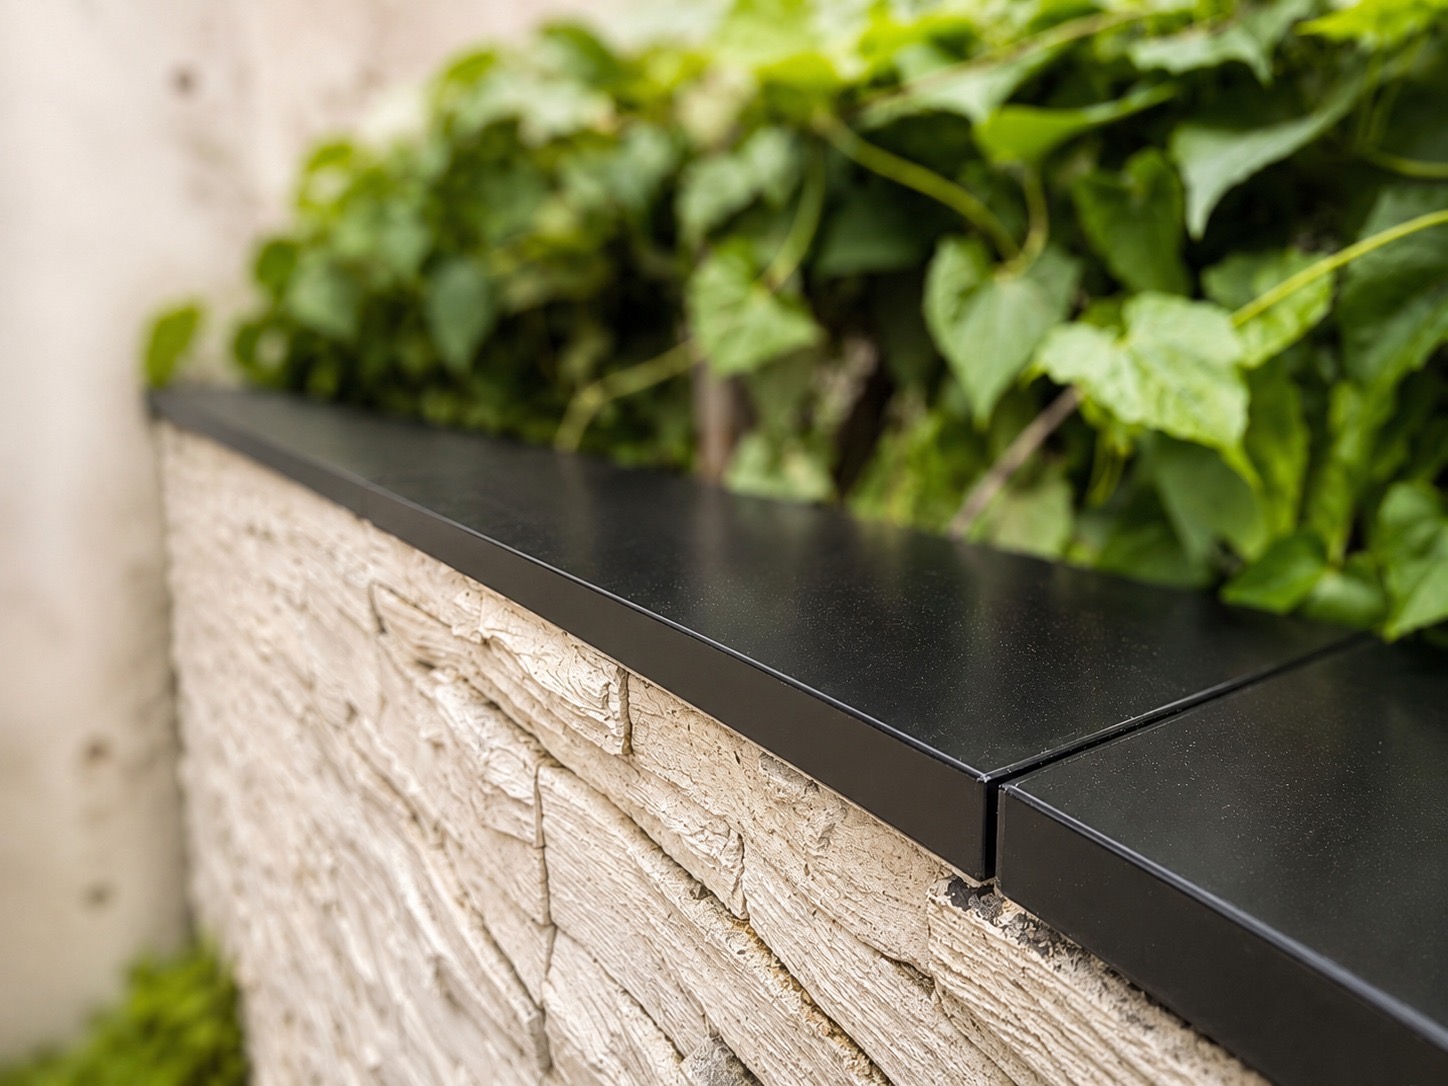
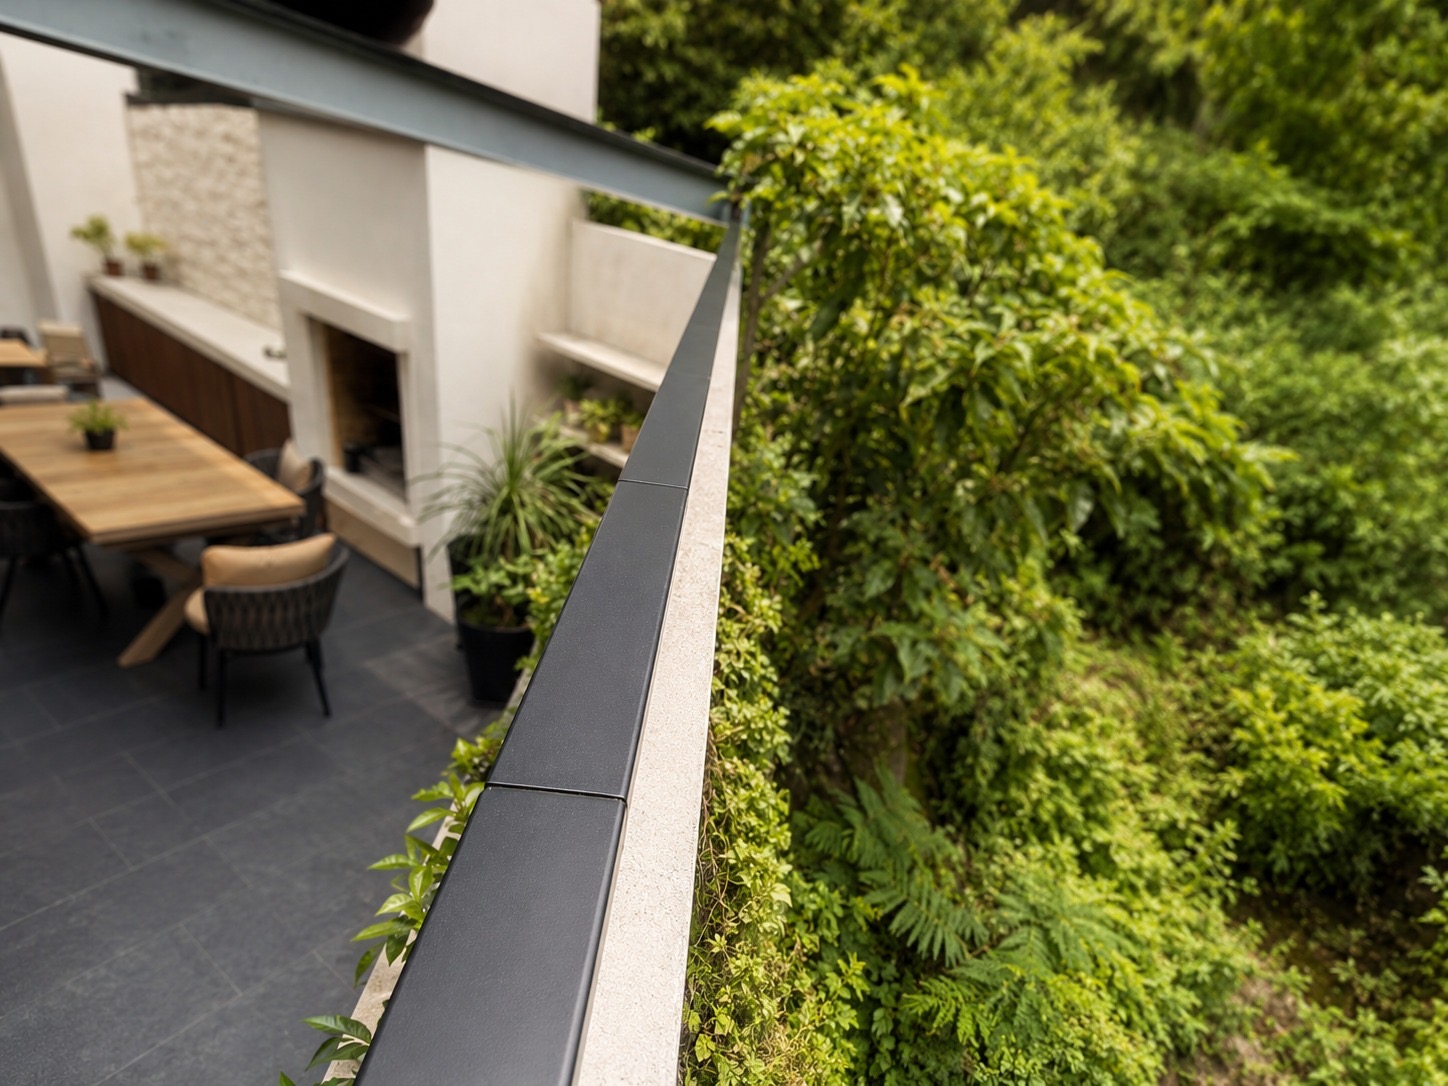
The completed installation created an early-warning climb-detection layer around the garden without visible signal wiring. The matte-black sensor housings followed the existing wall and fence lines, while the battery-free field devices removed routine sensor-battery replacement from the maintenance plan.
Most importantly for this retrofit, the system allowed SecurePro to move across different boundary materials without damaging the finished wall surfaces. The result was a professional installation that combined fast deployment, discreet appearance and verified wireless alarm response.
From the installer
SecurePro on the project
“To enhance the garden protection for client, the entire installation process is quick and simple, no wiring required and no damage to the wall.”
Securepro Technology Security System Limited, from the approved project video

Watch SecurePro's original project video
First published by SecurePro, the independent installer responsible for this project. Shared here with the installer's permission.
View original post Opens SecurePro's post on Facebook
Independent project installer
Securepro Technology Security System Limited
SecurePro is the independent security systems professional that designed, installed and commissioned this residential project using Apeiron Guard products.
Visit SecurePro's websiteProject sources: View SecurePro's original Facebook video. This case study also replaces earlier WeChat-derived images with clean project photographs supplied for this approved update. For the previous project record, view the original WeChat article.
Planning a residential perimeter security project?
Share the wall, fence or glass-edge conditions you need to protect. We can help professional installers and integrators plan a battery-free sensing and response path.